Painted Flower Nails - Your Creative Guide
There's something truly special about having tiny works of art right at your fingertips, and painted flower nails, well, they just bring a little piece of nature's beauty to your everyday. It's a way to show off your personal flair, to add a touch of spring or a summer garden feel, no matter the season. Folks often find that a splash of floral design on their nails can really lift their spirits, making them feel a bit more put together and quite charming, too.
Many people think creating these lovely designs might be a big challenge, something only a professional could do. But honestly, it's more accessible than you might think. With just a few simple things and a little bit of patience, anyone can start adding sweet little blossoms to their nails. It’s a creative outlet, you know, a chance to play with colors and shapes without needing a huge art studio. You can, in a way, bring a whole bouquet right onto your hands.
This guide will walk you through everything you might want to know about bringing those pretty floral patterns to life on your nails. We'll chat about what you'll need, some straightforward ways to get started, and even how to keep your little masterpieces looking fresh for longer. So, get ready to explore the wonderful world of decorating your nails with a touch of nature's finest, giving your hands a truly unique and very delightful look.
Table of Contents
- Why Adorn Your Fingers with Painted Flower Nails?
- Getting Started with Your Own Painted Flower Nails
- What Tools Do You Need for Painted Flower Nails?
- Simple Steps for Pretty Painted Flower Nails
- Exploring Different Styles of Painted Flower Nails
- How Can You Make Your Painted Flower Nails Last?
- Where to Find Ideas for Your Next Painted Flower Nails Look?
- Common Little Worries with Painted Flower Nails
Why Adorn Your Fingers with Painted Flower Nails?
Thinking about why people choose to put these tiny blossoms on their nails, it's pretty clear it goes beyond just looking good. For many, it's a way to show a bit of their personality, to express themselves without saying a word. Your hands, after all, are always there, moving, gesturing, doing things, and having something pretty on them can be a little joy. It's almost like carrying a small, cheerful secret with you all day, you know?
There's also a wonderful feeling of accomplishment that comes with creating something with your own hands. Whether you're a seasoned artist or just someone trying something new, seeing those little petals and leaves appear on your nails can be quite satisfying. It's a creative pursuit that doesn't ask for a lot of space or fancy equipment, just a quiet moment and a desire to make something lovely. In some respects, it's a small act of self-care, a moment to focus on something pretty and calm.
And let's be honest, painted flower nails just make you feel good. They can brighten up a dull outfit, add a festive touch to a special occasion, or simply make a Tuesday feel a little more special. They invite compliments and conversations, too, as people often notice and appreciate the effort. It's a simple way to bring a bit of cheer to your own day and maybe even to those around you, basically, it's a small burst of happiness.
Getting Started with Your Own Painted Flower Nails
When you're ready to begin your own adventure with painted flower nails, the first step is always getting your nails ready. Think of it like preparing a canvas for a painting; a smooth surface helps everything look its best. This means making sure your nails are clean, shaped how you like them, and free of any old polish. You might want to push back your cuticles gently, too, which helps create a bit more space for your tiny artwork. This groundwork really helps your floral designs stand out, you know?
After your nails are all prepped, a good base coat is your next friend. This clear layer helps protect your natural nails from staining and gives the color polish something to really hold onto. It also helps your painted flower nails last longer, which is something everyone wants. Apply a thin, even layer and let it dry completely before moving on. Patience here pays off, as a sticky base can lead to smudges later, so, just take your time.
Then comes the fun part: picking your background color. This is the shade that your flowers will sit upon, so choose something that makes them pop. Light colors like white, pale pink, or nude are often chosen because they make bright flowers look even more vibrant. However, a darker background can make lighter flowers look quite dramatic and interesting. It's really up to your personal taste, and you can experiment a lot with this part, you know, just play around.
What Tools Do You Need for Painted Flower Nails?
To bring those lovely painted flower nails to life, you don't actually need a whole art supply store. A few key items will get you pretty far. First, you'll want some nail polishes in the colors you envision for your flowers and their leaves, along with your chosen base color and a clear top coat. Having a range of shades for petals and centers can be fun, too, giving your flowers a bit more depth. You might want a dotting tool, which is basically a small stick with a tiny ball at the end, perfect for making round petals or flower centers, or, like, small dots for details.
Next up, a fine-tipped brush is quite useful. These little brushes, sometimes called striping brushes or detail brushes, let you draw thin lines for stems or delicate petal edges. You can often find these in nail art kits, or even repurpose a very fine art brush if you have one lying around. Just make sure it’s clean and has a nice point. You might also find a toothpick or even a bobby pin straightened out can work in a pinch for small details, so, you know, get creative with what you have.
Beyond the actual tools for painting, some other bits and pieces come in handy. A non-porous surface, like a piece of foil or a plastic lid, is great for dabbing out small amounts of polish to work from. Cotton swabs and a little nail polish remover are absolutely essential for cleaning up any little slips or mistakes. You'll definitely make some at first, and that's totally okay. Having these things nearby makes the whole process a lot less frustrating and much more enjoyable, honestly.
Simple Steps for Pretty Painted Flower Nails
Once you have all your tools and your nails are prepped with a base coat and background color, you can start making your painted flower nails. A simple way to begin is with a basic five-petal flower, which is quite forgiving. Take your dotting tool or the tip of a fine brush, dip it into the polish color you've chosen for your petals, and gently place five small dots in a circle on your nail. Try to keep them somewhat close to each other, forming a rough flower shape. Don't worry if they aren't perfect circles; slight variations can actually make them look more natural, you know, like real flowers.
After you've made your petals, it's time for the center of your flower. Pick a contrasting color, perhaps yellow or brown, and use a smaller dotting tool or the very tip of your brush to place a single dot right in the middle of your petal arrangement. This little dot really pulls the whole flower together and gives it a finished look. You might find it helpful to let the petal dots dry for just a moment before adding the center, especially if your polish is a bit thick, so, just a little patience here helps.
To add a bit more life to your painted flower nails, consider adding some tiny leaves. Using a green polish and your fine-tipped brush, draw small, simple leaf shapes next to your flowers. These can be just a couple of little strokes that come to a point. You don't need to be an expert botanist to make them look good; even abstract leaf shapes add to the overall floral feel. Remember, practice makes things easier, and every flower you paint will help you improve your technique, really.
Exploring Different Styles of Painted Flower Nails
Beyond the simple five-petal design, there are so many ways to express yourself with painted flower nails. You could try making tiny roses, which often involve creating a few swirling strokes of color that overlap, giving the impression of layered petals. Or, if you like something a bit more modern, abstract flowers can be quite striking. These might just be a few dabs of color that suggest a bloom without being too literal, offering a very artistic touch, you know.
Think about the types of flowers you like in real life. Daisies, for example, are very charming and can be made by creating a white circle with a yellow center, then drawing tiny white lines radiating outwards for the petals. For a more delicate look, you could paint tiny sprigs of lavender, using small purple dots arranged in a vertical line, with a thin green stem. The possibilities are honestly pretty endless once you start looking at nature for inspiration, which is quite fun.
You can also play with the scale of your painted flower nails. Some people like one big, bold flower on an accent nail, while others prefer a scattering of tiny, delicate blossoms across all their nails. Mixing and matching styles can also create a really unique look. Maybe a big rose on one nail, and smaller, simpler flowers on the others. It's all about what feels right for you and what kind of mood you want to convey, basically, your nails become a canvas for your mood.
How Can You Make Your Painted Flower Nails Last?
Once you've put all that effort into creating beautiful painted flower nails, you'll want them to stick around for a while. The most important step for longevity is applying a good quality top coat. This clear layer acts like a shield, protecting your design from chips, scratches, and fading. Make sure to apply a generous, even layer over your entire nail, including the very tip, which is often where wear starts. Let it dry completely; this is actually quite important.
Beyond the top coat, there are some daily habits that can help keep your painted flower nails looking fresh. Try to be mindful of how you use your hands. Things like doing dishes without gloves, opening cans, or even typing a lot can be tough on your polish. If you're doing chores that involve water or harsh chemicals, putting on some gloves can really make a difference. It's a small step that provides a lot of protection, you know, for your little works of art.
If you notice a small chip or a bit of wear on your painted flower nails, you can often do a quick touch-up rather than starting all over. For a tiny chip, you might be able to dab a bit of the original color polish on it, then reapply a top coat over the whole nail. For more serious wear, sometimes it's easier to just remove the polish from that one nail and redo the flower. This way, you can keep your manicure looking neat without a complete overhaul, which is pretty convenient, really.
Where to Find Ideas for Your Next Painted Flower Nails Look?
Feeling a little stuck on what kind of painted flower nails to try next? Inspiration is truly everywhere once you start looking. Social media platforms, like those focused on visual content, are brimming with nail art ideas. You can search for specific flower types, seasonal designs, or even just "floral nail art" to see what others have created. Saving images you like to a personal collection can be a great way to build up a library of ideas for later, so, just browse around.
Nature itself is, of course, the ultimate muse for painted flower nails. Take a walk in a garden or a park and really look at the flowers around you. Notice their colors, the way their petals are shaped, and how they grow together. Even a single flower can spark an idea for a whole set of nails. You might even snap a picture of a flower you love and use it as a direct reference when you're painting. It's a fun way to connect with the natural world, you know, through your art.
Beyond nature, look at art, fashion, and home decor. A pattern on a dress, a painting in a gallery, or even a floral print on a cushion can provide wonderful color combinations and design concepts for your painted flower nails. Sometimes, just seeing how colors are put together in a different context can give you a fresh perspective for your own nail art. Don't be afraid to mix and match elements from different sources; that's often where the most unique ideas come from, which is pretty cool.
Common Little Worries with Painted Flower Nails
Even with practice, you might run into a few small hiccups when creating your painted flower nails, and that's perfectly normal. One common worry is smudging your design before it's fully dry. This happens to everyone! The best way to avoid it is to give each layer of polish, especially the top coat, ample time to dry completely. If you're in a hurry, quick-dry drops or sprays can help speed things up, but still, a little patience goes a long way, basically, just wait it out.
Another thing people sometimes struggle with is getting clean, crisp lines or perfectly round dots. If your lines look a bit wobbly, try resting your hand on a stable surface, like a table, while you paint. You can also try holding your breath for a second while making a precise stroke, which can help steady your hand. For dots, make sure not to overload your dotting tool with too much polish; a smaller amount often gives a cleaner dot. Remember, practice really does make a difference here, you know, just keep trying.
Sometimes, the polish might seem too thick or too thin, making it hard to work with. If it's too thick, adding a drop or two of nail polish thinner (not remover!) can help bring it back to a better consistency. If it's too thin, you might need to apply a couple of very light layers to build up the color. Don't get discouraged if your first few attempts aren't perfect. Every nail you paint is a step towards becoming more skilled, and honestly, the process itself can be quite enjoyable, too.
So, there you have it – a whole lot about bringing the charm of painted flower nails right to your fingertips. We've talked about why these little pieces of art can make you feel good, what bits and pieces you'll need to get started, and some simple ways to make your first blossoms. We also chatted about exploring all sorts of different floral looks, how to keep your designs looking fresh, and where to find endless inspiration for your next nail adventure. And, of course, we touched on those common little worries that pop up, showing that everyone faces them. It's truly a creative outlet that's open to anyone, letting you add a bit of your own unique sparkle to your day, one pretty petal at a time.
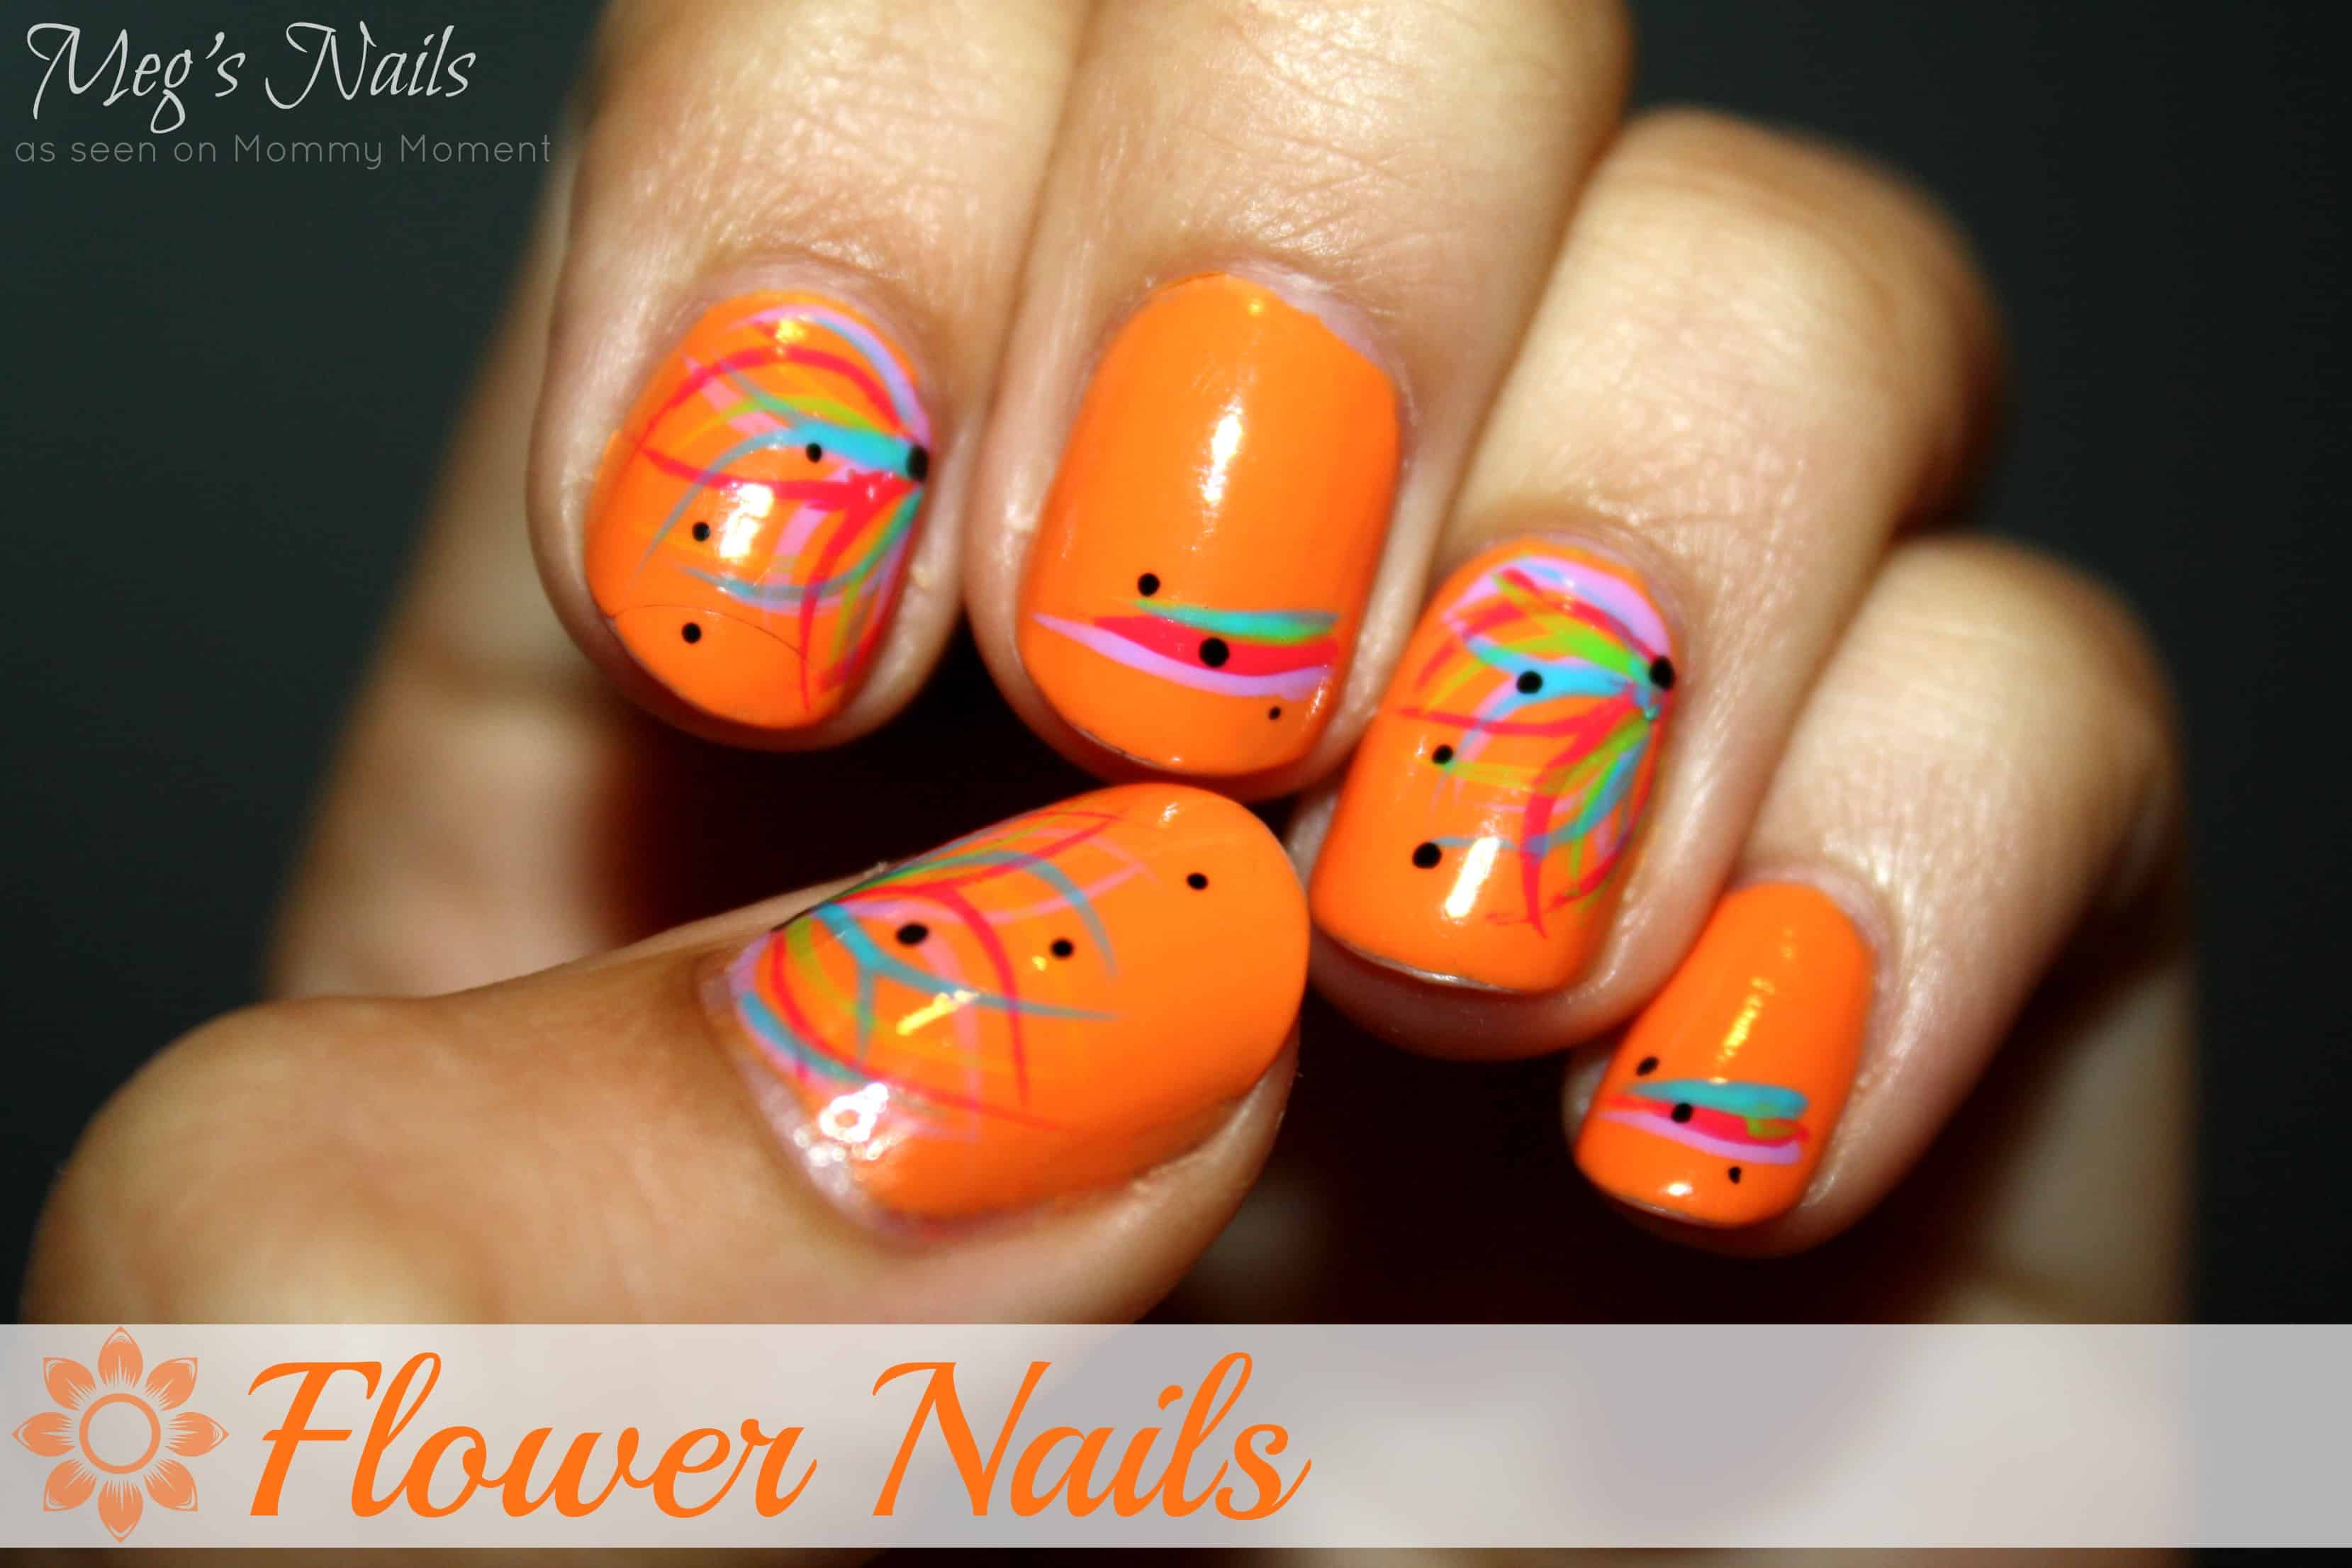
Flower Nails ~ Meg's Nails

100 Gorgeous Flower Nails You Need To Try This Season

Flower Nails Flower Nails, Create, Beauty, Beauty Illustration
